

Pottery Day at Plum Pottery East Studio.
Last semester my pottery instructor, Rhea, had an entire table of these awesome looking bowls. They were surrounded with newspaper and I wondered how they were made. She worked on teaching me how to make the bowls today. This is what I learned:

First I had to create flat slabs of clay with the slab roller machine.

Next I had to decide what size bowl I wanted, the height of the walls and the center area of the bowl. I made a paper template, cut slits in 4 places and created an inner circle to know where to stop the slits.

When you slide the slits in on one another you get a simulation of a bowl. The four slits overlap on one another and create triangles in the 4 regions.

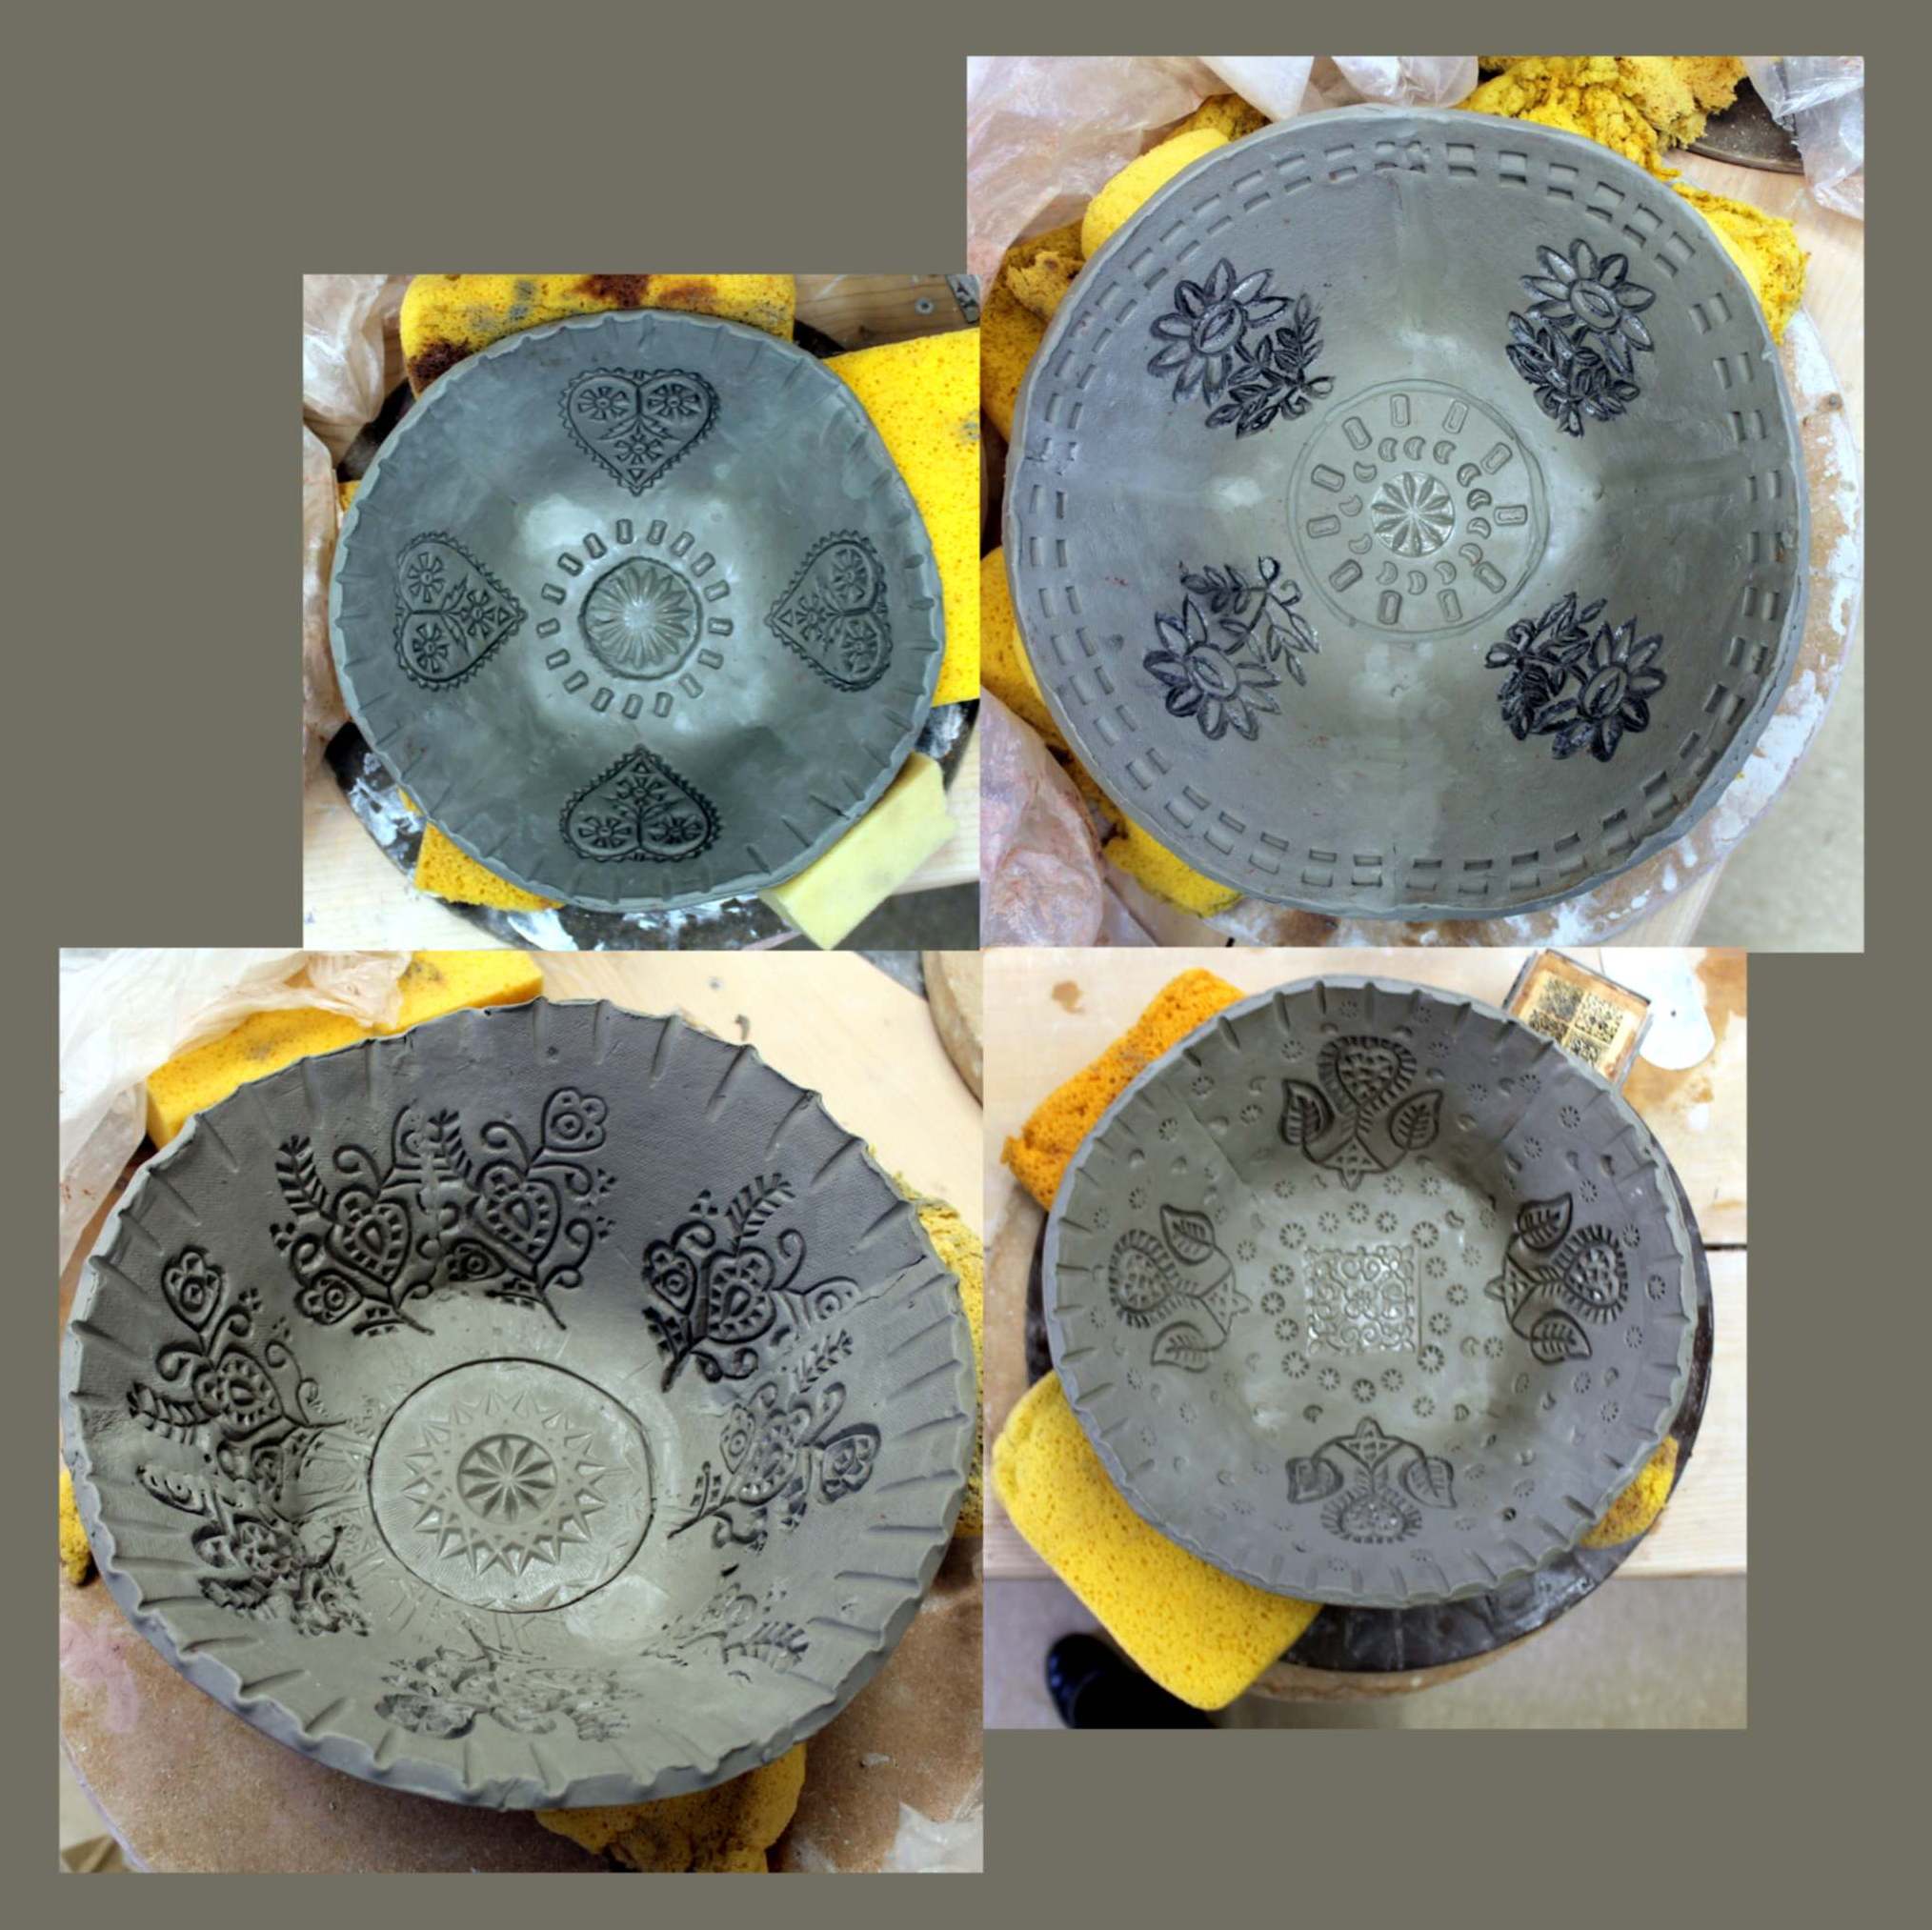
I put my template aside and focused on stamping. The main reason I was attracted to this project in the first place was because flat slab pottery is very conducive to pattern making. A flat surface is easier to embellish than a round one. At this point I also took a round wooden pottery bat and traced an outer circumference with a needle tool. This gives me my outer circumference.

These are my favorite stamps. They are hand-carved wooden textile stamps from Pakistan. I found them at Brimfield Antique Show.

OK. Now above you saw my white paper. I cut slits and overlapped the four sides until the desired bowl shape emerged. In the photo above here, the white triangle is a template of the overlap from my paper. At this point you scratch & score the inside of the clay triangular areas.

Very slowly you merge the triangles together with wet slip, you are raising the walls and at the same time smoothing the seams. You can see the 4 seams faintly in this photo, but it shouldn’t show after the bowls are fired and glazed. As the clay is firming up, bottom support is needed. Today we used sponges but plastic bags or newspaper would work too. You just want to keep their shape uniform while they are setting up.
What I love about this technique is that the bowls look handmade. I love handmade. It says no one else’s bowl is quite like mine!
At this point we will slow dry them for a week. They get covered in plastic. Next week I can work with them fixing the seams, smoothing out the rims, and fixing the patterns where they need it.
Then they get bisque fired, glazed after that and back in the kiln for a final firing.
The process takes time, but I’ll start something new next week and keep my pottery assembly line moving.
Gosh darn it! I just love playing with clay. You can make the coolest usable things!

Those stamps are lovely. Very envious.
I’d love to see your finished bowls. Will you be posting them or putting them on Pinterest?
Hopefully this upcoming Tuesday!
Am I missing something here. You show pie slice cutouts on the slab after you added the stamp designs, but where did the paper triangle cutout come from. It is not the same paper as shown in your template.
In the 4th photo you can see an overlap when you take the paper and pull it upward to form a bowl. In the 7th photo you see a triangular piece of paper cut out. The overlap in photo 4 creates a triangle shape. depending on whether you want your bowl deep or shallow, the triangle will be different. Whatever your overlap triangle looks like, you aply it eaqually in 4 places on your circle. You then scratch and slip where the triangles were cut out and it takes a flat slab of clay to a concave vessel. Hope this helps :)